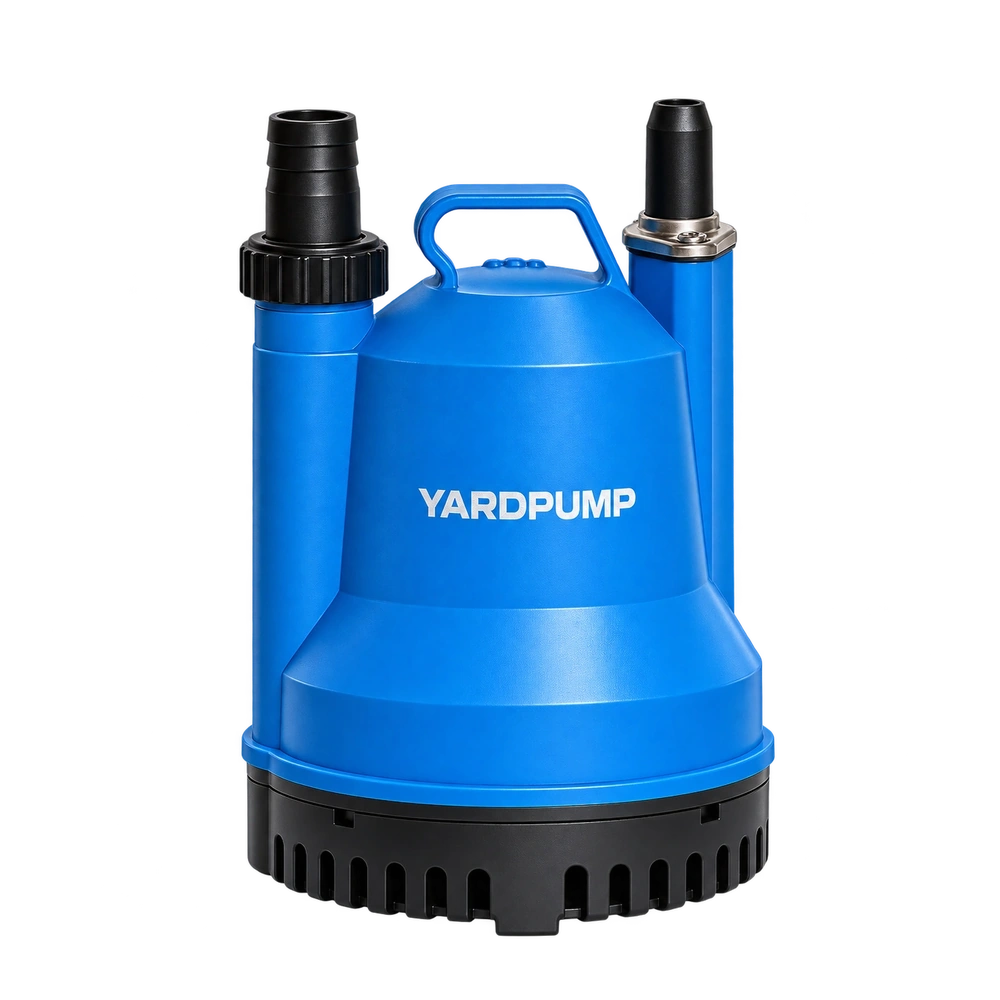
A sump pump rocks because two of its feet sit on raised spots in the pit. Wedges can steady it while it is dry, then shift when water enters or when the discharge line moves. Use a stable, model-compatible bearing surface and verify it with the final pipe and float arrangement in place.
Locate the movement before choosing a base
An unstable base can shift the pump, load the discharge joint and change float travel. Small loose supports may settle, tilt or move into the inlet, while an oversized platform can reduce usable pit volume.
With the power isolated and the pit safe to inspect, check what touches the pump feet. A ridge in the basin floor calls for a different solution from loose gravel or an unstable liner. Measure the footprint and inspect how the pump inlet is fed. Some units admit water near the underside. A lip next to the lower opening can restrict the flow while leaving the pump visibly upright.
Check the discharge pipe separately. A short misaligned rigid section can hold a pump above one foot or push it sideways. If the pump sits correctly before the union is brought together and tilts as the union is tightened, correct the pipe support and alignment. A shim beneath the loaded foot would leave that pipe force in the installation.
Change the height on paper first
For example, a support that raises the inlet 20 mm also changes the remaining water and switch geometry. The number demonstrates a linked change and is not a universal installation height.
Mark the old and new pump inlet, switch levels, inlet pipe and alarm height on a vertical sketch. For a float mounted on the pump, moving the pump often moves the switch levels too. That can change the space available before inflow rises to a connection or other critical level. A base also occupies some of the storage volume. Use the new elevations and occupied volume for any cycle estimate.
Compare the full assembly against the pump and basin instructions. A solid, compatible platform needs enough footprint to support the feet through a start and enough drainage clearance around the edges. The pipe should be independently supported where required. Position any removable platform so a technician can lift the pump by its approved point without hitting the check valve or trapping the float cable.
Inspect a complete wet cycle
Isolate power, inspect the pit floor and measure the pump, inlet and control envelopes. Wet-cycle the final support under representative inflow and verify that the pump does not rock, rotate, ingest loose material or obstruct the float.
Where the instructions permit, observe several starts and stops from the accessible side of the finished pit. Watch the pump feet, the float swing and the pipe at the first joint. A kick at start can move an unstable assembly just far enough for the next cycle to catch the float. Record the base and clearances after the discharge line has filled. Keep the sketch with the service instructions so a replacement unit can be checked against the same positions.
Frequently asked questions
Is one brick under the low side enough?
A loose individual shim can move or concentrate load on a pump foot. Use a stable compatible support with a bearing area and clearance that satisfy the installation instructions.
Does a flat platform always improve the inlet?
Check the actual inlet shape. A rim or solid centre under a low intake can restrict it. Leave the specified path for water and debris to approach.
Can the new support change the high-water alarm?
It can change the pump’s starting level relative to the alarm. Recheck normal start, alarm and backup levels in order after the support is installed.